How to Choose the Best Recording Microphone for Your Studio in Australia

Assessing Your Studio Needs
When setting out to enhance the sonic brilliance of your recording studios in Sydney, understanding the unique needs of your space is paramount. Whether at a bustling tech event at Darling Harbour or a quiet session in your home studio, knowing your goals can make a significant difference.
Identifying Studio Purpose
First, clearly define the purpose of your recording studio. Are you producing podcasts, making music, or creating multimedia presentations? Each path requires a distinctive setup. For instance, broadcasting live events necessitates versatile audio setups that can handle an array of sound sources.
Evaluating Room Acoustics
Acoustics play a pivotal role in audio quality, and recording locations in Sydney can vary widely in this aspect. Consider the materials and dimensions of your room, and integrate sound-absorbing panels if needed. Such adjustments can be crucial when dealing with diverse environments, like tech meetups in Surry Hills.
Understanding Sound Sources
The type and number of sound sources you plan to capture will also guide your microphone choice. Solo vocals, interviews, or instrumentals each require specific gear. Researching tools like integra can be beneficial for seamlessly merging various audio components to meet your PR campaign needs.
Equipping yourself with this understanding ensures your audio tools not only fit your current needs but also adapt to future aspirations in the dynamic world of tech.
Types of Microphones
Dynamic vs. Condenser
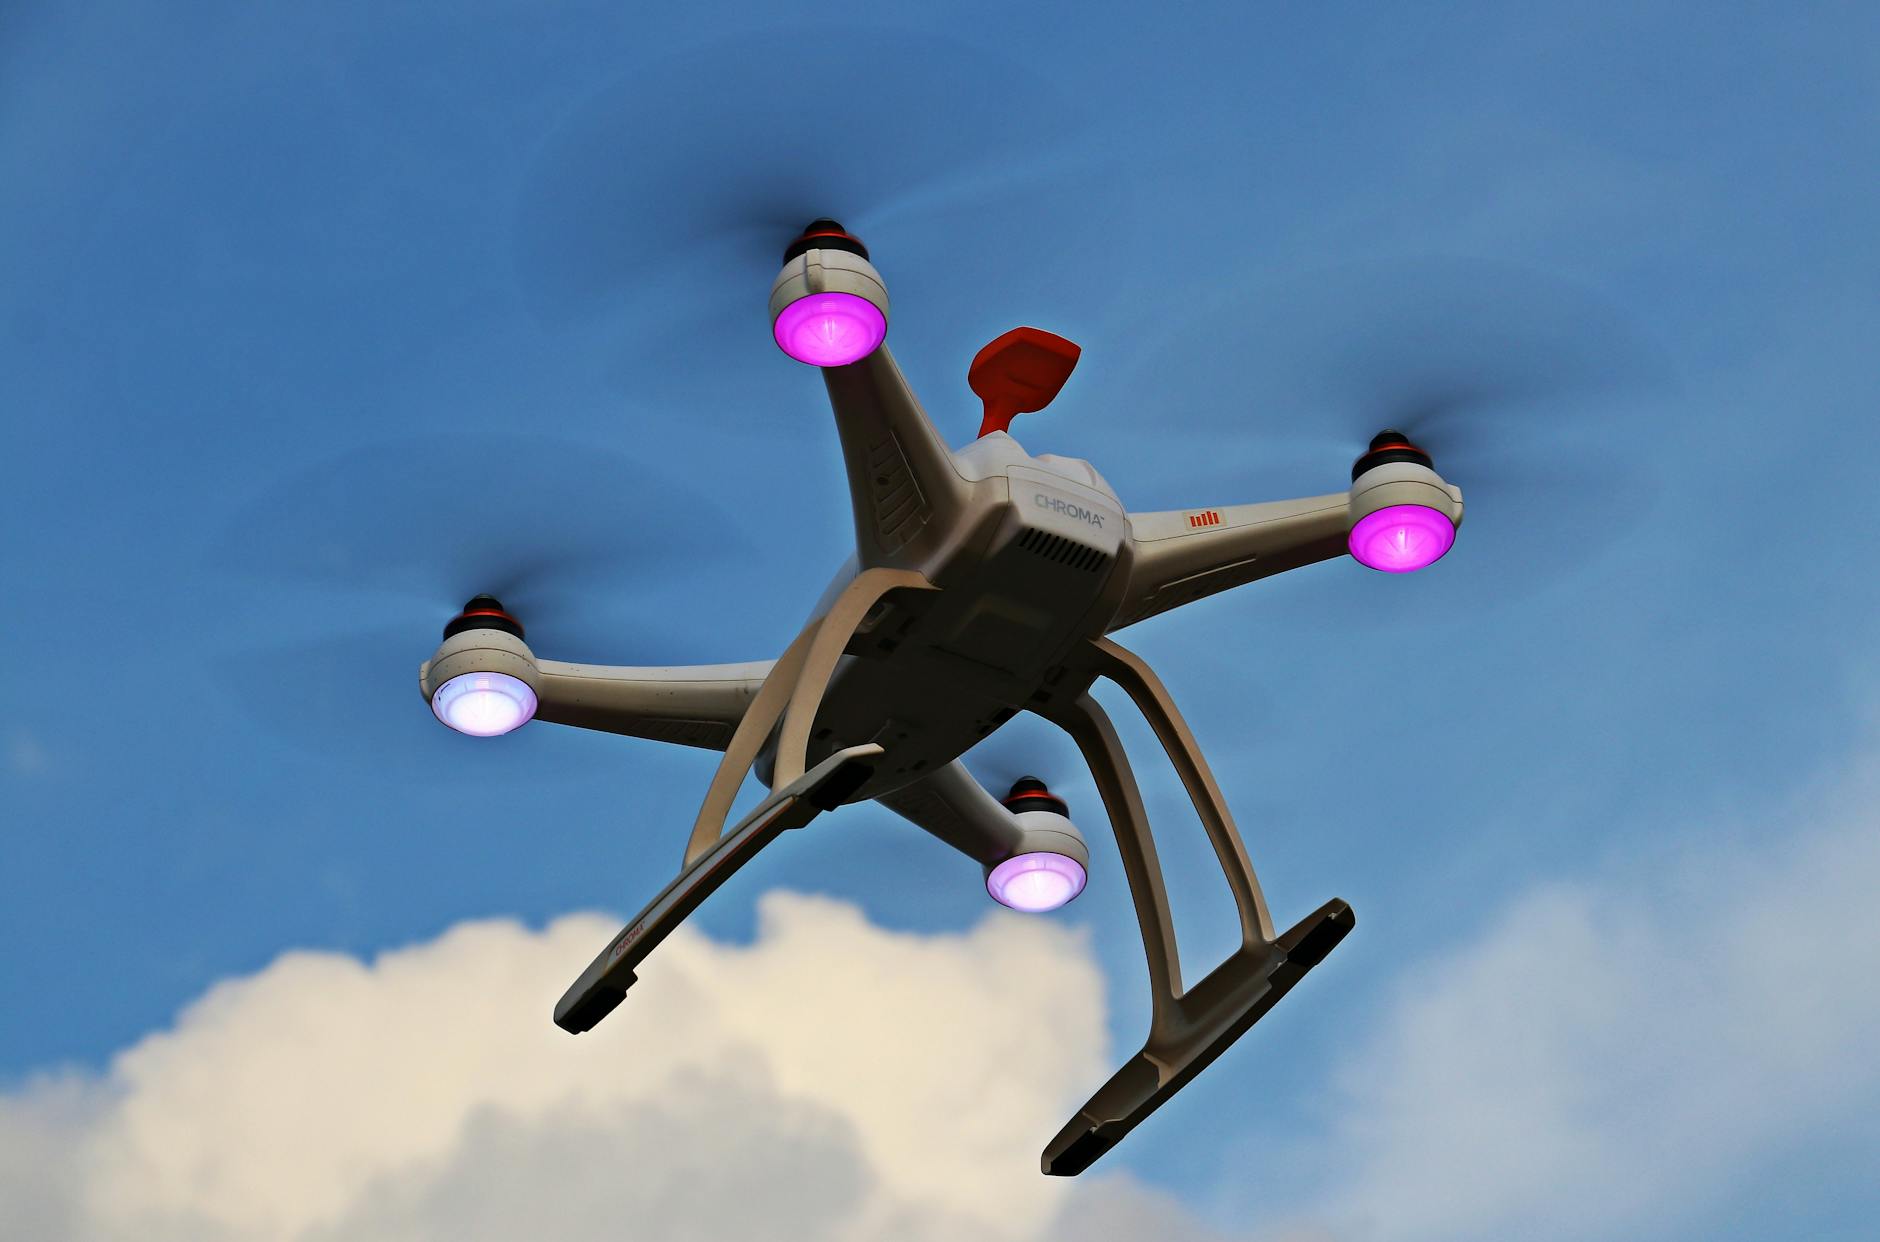
When diving into the realm of audio equipment, understanding the distinctions between dynamic and condenser microphones is crucial. Dynamic microphones are sturdy and often preferred for live performances due to their durability. They don't require external power and excel in capturing loud sounds without distortion. Meanwhile, condenser microphones are sensitive, requiring phantom power, and tend to be the first choice in studio settings for capturing detailed recordings. They are ideal for vocals and voiceovers, especially when a recording microphone with high fidelity is necessary for clarity and precision.
Ribbon Microphones Explained
Ribbon microphones are a fascinating choice for those looking to capture warmth and natural sound in their recordings. Unlike dynamic and condenser mics, they offer a vintage tone that’s prized in certain music genres. However, they are delicate and less suited for environments where durability might be a concern. The unique construction of ribbon microphones allows for a smooth, mellow sound, making them excellent for broadcasting and specific vocal applications in studio settings, echoing the sentiments often shared during tech meetups in Surry Hills.
USB vs. XLR Connections
Choosing between USB and XLR connections often comes down to the specific needs of your setup. USB microphones are celebrated for their plug-and-play ease, making them excellent for podcasting or on-the-go recording sessions. However, XLR connections—common in professional studios—offer superior sound quality and flexibility. XLR mics require an audio interface but allow for greater control and the ability to connect to other equipment, such as mesh radios. By understanding your recording goals and environment, you can select the right microphone that supports your journey toward creating impactful audio content.
Choosing the Right Features
Polar Patterns and Their Uses
When diving into microphone selection, understanding polar patterns is crucial. They determine from which direction a microphone picks up sound, and with choices like cardioid, omnidirectional, and figure-eight, the right pattern can make a difference. Cardioid patterns, for example, are perfect for isolating sound from the front, making them ideal for vocal recordings or podcasting in bustling environments like those vibrant tech meetups in Surry Hills. On the other hand, an omnidirectional pattern captures sound evenly from all directions, offering versatility for group sessions or capturing ambiance.
Frequency Response Considerations
The frequency response of a microphone is a key factor influencing audio quality. It refers to the range of frequencies a microphone can pick up, from the deepest bass to the highest treble. For bass instruments or kick drums, a broader response is beneficial. Prioritising a microphone with a suitable frequency range ensures clarity, whether you're recording booming bass lines or precise high notes.
Sensitivity and Sound Pressure Levels
A microphone's sensitivity deals with how effectively it converts sound into an electrical signal. Higher sensitivity is preferred for quieter sound sources, while lower sensitivity might be optimal for louder environments. Sound pressure levels (SPL) indicate how well the equipment handles loud sounds without distortion. If you're playing with high SPLs, consider robust audio equipment to prevent sound clipping and distortion. By familiarizing yourself with these elements, you can seamlessly elevate your audio recordings for anything from corporate podcasts to live tech events at places like Darling Harbour.
Setting Up for Success
Setting up your studio for success requires a meticulous approach to enhance both performance and the final sound quality. We'll explore some strategies that can transform your recording experience, drawing inspiration from the collaborative tech spirit seen at networking events around Surry Hills.
Proper Placement Techniques
Effective microphone placement is crucial for capturing the best audio. Begin by aligning the mic with the sound source's axis, ensuring that vocals or instruments are not off-centre. For instance, placing mics close to a sound source can amplify detail but might pick up too much background noise; find a balance that captures clarity without excess volume.
Acoustic Treatment Tips
Acoustic treatment can significantly enhance your studio's sound dynamics. Start by addressing primary reflective surfaces, such as walls and ceilings. Consider installing bass traps in corners and diffusers to disperse sound evenly. If budget constraints are a challenge, even adding softer furnishings can minimise echo and reverberation, creating a more controlled environment.
Cable Management Strategies
Incorporating smart cable management can streamline your setup, preventing tangled connections that can lead to recording disruptions. Use cable clips or ties to keep cords organised, and label them to ensure quick swaps during sessions. By using technologies like a universal remote, you can manage multiple devices seamlessly, increasing efficiency and focus during your sessions.
With these approaches, you can create an optimal recording environment that enhances creativity and technical precision.
Optimal Recording Setup for Australian Studios
Perfecting Microphone Placement
In the dynamic world of sound recording, finding that sweet spot for your microphone can be as thrilling as attending a tech meetup in Surry Hills. Proper placement is essential for capturing the unique soundscapes of your recordings. Ensure that you experiment with different angles and distances, considering the sensitivity and sound pressure levels of each microphone to get the best output. Don’t forget to account for the peculiarities of your recording space, whether it mirrors the vibrant acoustics of an International Convention Centre Sydney event or a cozy home studio.
Acoustic Treatment Essentials
Imagine attending another innovative marketing talk at the International Convention Centre Sydney - clear sound is key. Just like in booming event spaces, managing sound within your studio can drastically transform your audio quality. Invest in acoustic panels or foam to minimize echoes and disturbances. This allows for a purer audio capture, turning your space into a studio worthy of Darling Harbour's creative energy.
Efficient Cable Management Techniques
Anyone who's set foot at a bustling tech event knows the chaos cables can create. In your studio, tangled cables are not just unsightly but can lead to unexpected interferences. Use cable organizers or hooks to keep everything tidy and functional. This proactive approach not only enhances studio aesthetics but also safeguards your audio quality against potential disruptions when recording with advanced gadgets like universal remotes or basic audio equipment.